When I was younger I would always watch my mother work on elaborate curtains, cushions, covers...you name it she made it. She was an Interior Decorator and a sassy one with her sewing machine and power tools. Perhaps the apple doesn't fall far from the tree.
Well, anyway... She taught me how to easily reupholster a seat cushion for a chair back then and I thought I would share my recent experience.
Materials:
Staple Gun
Staples
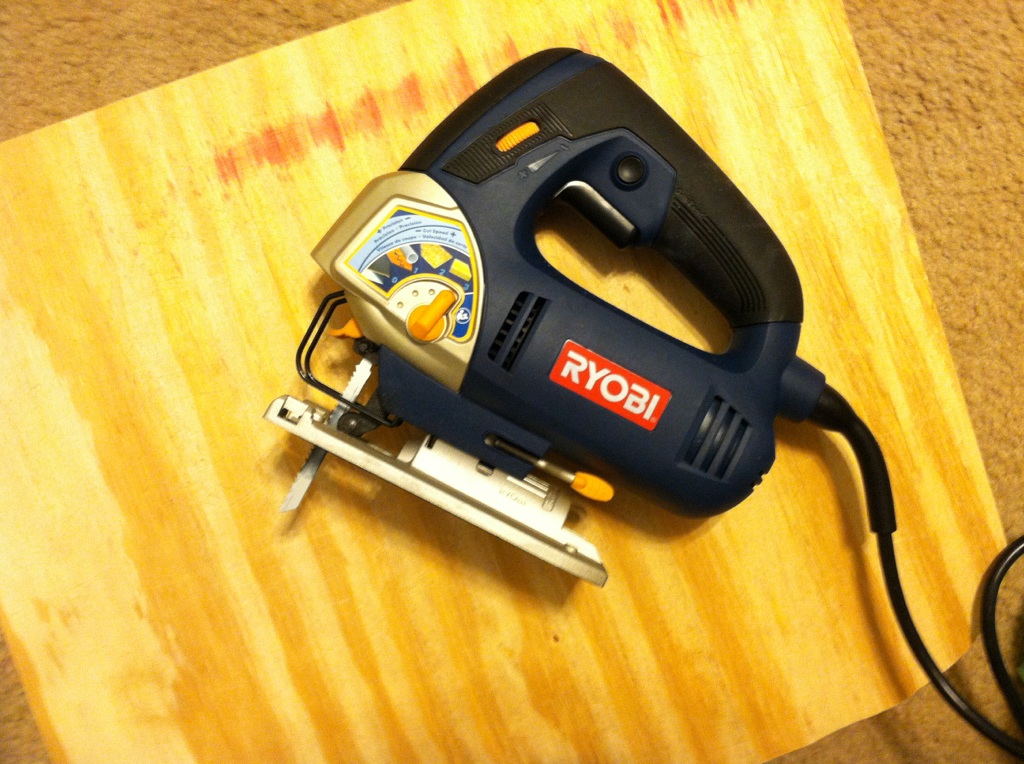
Jigsaw
Plywood
Foam
Fabric
Pencil
Measuring Tape
Cat
What you do:
1. Take the cushion off of the chair. ha
2. Take the staples out of the back and remove the fabric. (If the foam is disgusting, remove that, too)
3. Determine if you need a new base. If so, take the wooden seat to Home Depot and they will cut you a piece to match it, or close.
4. Trace the seat onto your newly cut wood then take a Jigsaw and cut the rest of the piece to match your seat. It's OK if it's not perfect.
Warning: BE CAREFUL WITH POWER TOOLS!

5. Trace and cut your foam to match the new seat bottom you just made. Let it be a little bigger than the base.

 Make sure you employ the cat to hold it steady, as he has to earn his keep.

and let him double check he still fits. OK good. He does.
Do not cut foam while cat is checking. Tails move. But do threaten to eat him in a cat sandwich if he doesn't.


Do not cut foam while cat is checking. Tails move. But do threaten to eat him in a cat sandwich if he doesn't.

6. Lay out your fabric and place your wood and foam on it to eyeball where you want it to go. Remember to check your pattern and see if you like it if you have one.
*Mine was folded in half because I made 2.
*Mine was folded in half because I made 2.

6. Cut your fabric 2-3 inches passed the edge.

7. Staple the fabric to the wood. Don't use your thumb to pull it. Use the side of your hand so you don't get ripples. Leave the corners for last and grab them in a fist to staple. Hammer any staples that need help at the end.


I mean this isn't the fanciest way to do it, but it's the easiest. My mother would cringe because she is a pro, but to me it looks just fine! Love you, Mom! :)
I'm sure there are other tutorials out there, but I promised this one so there it is.
Disclaimer: If you hurt yourself, I take no responsibility. Reupholster at your own risk.
Good Luck!