Showing posts with label Interior Design. Show all posts

5.25.2012

DIY Snakeskin Tray


Solid Tray Instructions:
1. Wash and dry your fabric then iron it.
2. Mod Podge the side facing out to prevent fraying.
3. After it has dried for an hour, measure and cut your fabric to fit.
4. Make sure you center the pattern how you want it.
5. Apply Mod Podge to both the tray and the fabric and press it down firmly.
6. Smooth out all the air bubbles. Here is where the rewards card it handy.
7. Once the top had dried completely, flip it over and do the same for the back.
8. Cut the corners at an angle.
9. Apply Mod Podge all over the edges and corners to seal everything.
10. Let it dry overnight.
11. Optional: If you feel they tray is too sticky, spray it with clear acrylic spray.
Clear Plate/Tray Instructions: 
1. Flip your tray over onto a bowl to keep it from touching the table.
2. Apply Mod Podge to the back of the tray and to the side you want to show through.  (This is very important, or you will end up seeing the back of the fabric.) 
3. Lay it on the tray and smooth out the air bubbles with your fingers and the rewards card.
4. After it has dried, cut the edges.
5. Finish by applying Mod Podge to the back of the tray for any stray edges and for durability.
6. Optional: Again, you can use clear acrylic spray if your tray is too sticky.


THE BACKSTORY:

So, lately snakeskin trays have been all over the blogosphere and all in my brain. I am officially obsessed with them and I needed one like, yesterday.
Here are a few pictures to get you in the mood. *Cue Marvin Gaye and scroll slowly*
Sexy right? Oh man.
Unfortunately, when I went on the quest to find one like them, all were out of budget and back ordered to boot. womp womp.
 
Here are the ones I found:
$87.50 at Multichic.com
This one is by Two's Company and is a set of 3 for $92.99
Totally UH-mazing.
Needless to say the cheapest one I found was this one for $40-$55 at jaysonhomeandgarden.com... and they were out of stock, too. Awesome.
On to plan B. Make one!
I gave myself a budget of $25 and I came in under budget.
Materials:
Mod Podge: $6.49 (had a 40% off coupon): $4.19
Fabric: $10 + $4.90s&h
Tray: Had one, but the clear plate was $3 at Walmart
Foam brushes:  $0.50/ pop, Home Depot
Old Rewards Card: Free anywhere.
(I finally got some use out of my Costco card)
Total: $23.09 for 2
The tray I used was originally purchased at Walmart for like $8 or $9, but you can pick one up at a thrift store for much less.
I found a few different fabrics that I liked
This white one from Decorative Fabrics Direct was a close match but was $19.95/ yard, which was on special from $31.45.
 
This darker one I found on Fabric.com and was $7.98, but was a little too dark for my taste.
... And lastly I found the Goldy Locks of fabrics on eBay from a seller called The Sew Shop for just $10!
 
 
What do you think?  Would you make your own snakeskin tray?

5.16.2012

DIY Easy Reupholstering

When I was younger I would always watch my mother work on elaborate curtains, cushions, covers...you name it she made it. She was an Interior Decorator and a sassy one with her sewing machine and power tools. Perhaps the apple doesn't fall far from the tree. 

Well, anyway... She taught me how to easily reupholster a seat cushion for a chair back then and I thought I would share my recent experience.

Materials:

Staple Gun
Staples
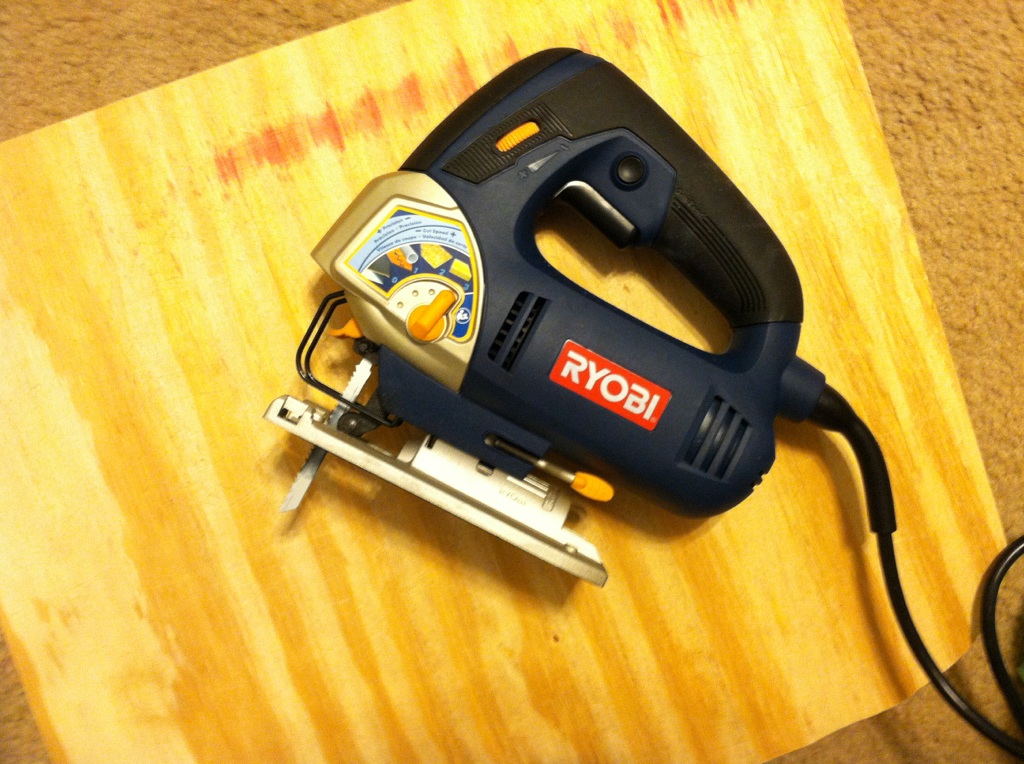
Jigsaw
Plywood
Foam
Fabric
Pencil
Measuring Tape
Cat

What you do:

1. Take the cushion off of the chair. ha

2. Take the staples out of the back and remove the fabric. (If the foam is disgusting, remove that, too)

3. Determine if you need a new base. If so, take the wooden seat to Home Depot and they will cut you a piece to match it, or close. 

4. Trace the seat onto your newly cut wood then take a Jigsaw and cut the rest of the piece to match your seat. It's OK if it's not perfect. 
  Warning: BE CAREFUL WITH POWER TOOLS!


5. Trace and cut your foam to match the new seat bottom you just made. Let it be a little bigger than the base.

 Make sure you employ the cat to hold it steady, as he has to earn his keep.


  and let him double check he still fits. OK good. He does.

Do not cut foam while cat is checking. Tails move. But do threaten to eat him in a cat sandwich if he doesn't.


6. Lay out your fabric and place your wood and foam on it to eyeball where you want it to go. Remember to check your pattern and see if you like it if you have one.

*Mine was folded in half because I made 2.


6. Cut your fabric 2-3 inches passed the edge.


7. Staple the fabric to the wood. Don't use your thumb to pull it. Use the side of your hand so you don't get ripples. Leave the corners for last and grab them in a fist to staple. Hammer any staples that need help at the end.


Ta-Dah! Brand spankin' new seat cushions.

I mean this isn't the fanciest way to do it, but it's the easiest. My mother would cringe because she is a pro, but to me it looks just fine! Love you, Mom! :)

I'm sure there are other tutorials out there, but I promised this one so there it is.

Disclaimer: If you hurt yourself, I take no responsibility. Reupholster at your own risk. 

Good Luck!


5.04.2012

Lucite Dreams

The Kartell Louis Ghost Chair:

I love the airy yet classical quality of this piece. It makes a small room look bigger and I love how it can disappear into any wall. This chair is definitely on my want list and at $410, only in my dreams.


How Gorg?!

You can dream your Kartell Louis Ghost Chair here...

or look for cheaper ($135) option on Amazon.com

Amazon Louis Ghost Chair :


What would you do?


5.03.2012

Looky What I Found on Craigslist!

If you follow me on Twitter (@DISCOairglow) you might already know. 

While obsessively checking Craigslist, I found these wooden (not laminate) bookshelves for pennies on the dollar. 
They need some loving but I am super excited to revamp these babies. 


Before and After to come!

5.02.2012

What I'm Loving Now: Home Inspiration

Oh Pinterest. How you steal my hours. 

These are a few photo's that have been inspiring me lately. 


White linens with black piping. 


Mint green stripes with pink flowers. 


Fabulous Vanessa Vargas DIY bookcase. 


Lucite vanity.


Peacock Blue anything! (Cute kitty, too)


DIY Greek Key Ikea hack. 


LOVE,

M.
01 09 10